Introduction: Seeing Is Believing
Budgets and guides are helpful, but nothing convinces like seeing a real transformation. In this article, we take you through the complete process of a kitchen remodel: the starting point, the decisions made, the construction process, and the final result.
This is a representative example of the projects we execute in Caracas, Valencia, San Diego, and Carabobo, including practical lessons you can apply to your own kitchen.
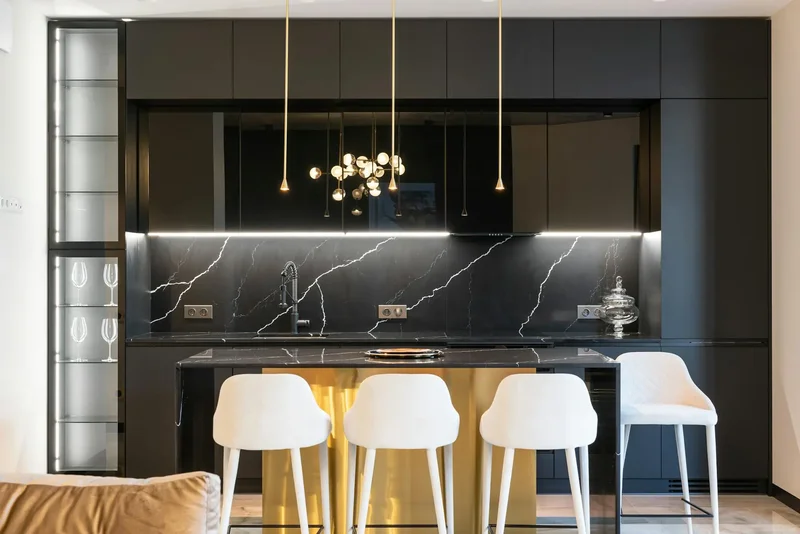
Starting Point: A 20-Year-Old Kitchen
The original kitchen showed the classic symptoms of two decades of use:
- Inefficient layout: limited work surface and poorly utilized storage
- Outdated installations: electricity without dedicated circuits and minor plumbing leaks
- Worn materials: stained countertops, misaligned cabinet doors, damaged flooring
- Poor lighting: single central light point, dark work zones
- Outdated aesthetics: colors and finishes from another era
The client’s goal: a modern, functional kitchen with good lighting and space for family cooking, without expanding the footprint.
Phase 1: Design and Planning
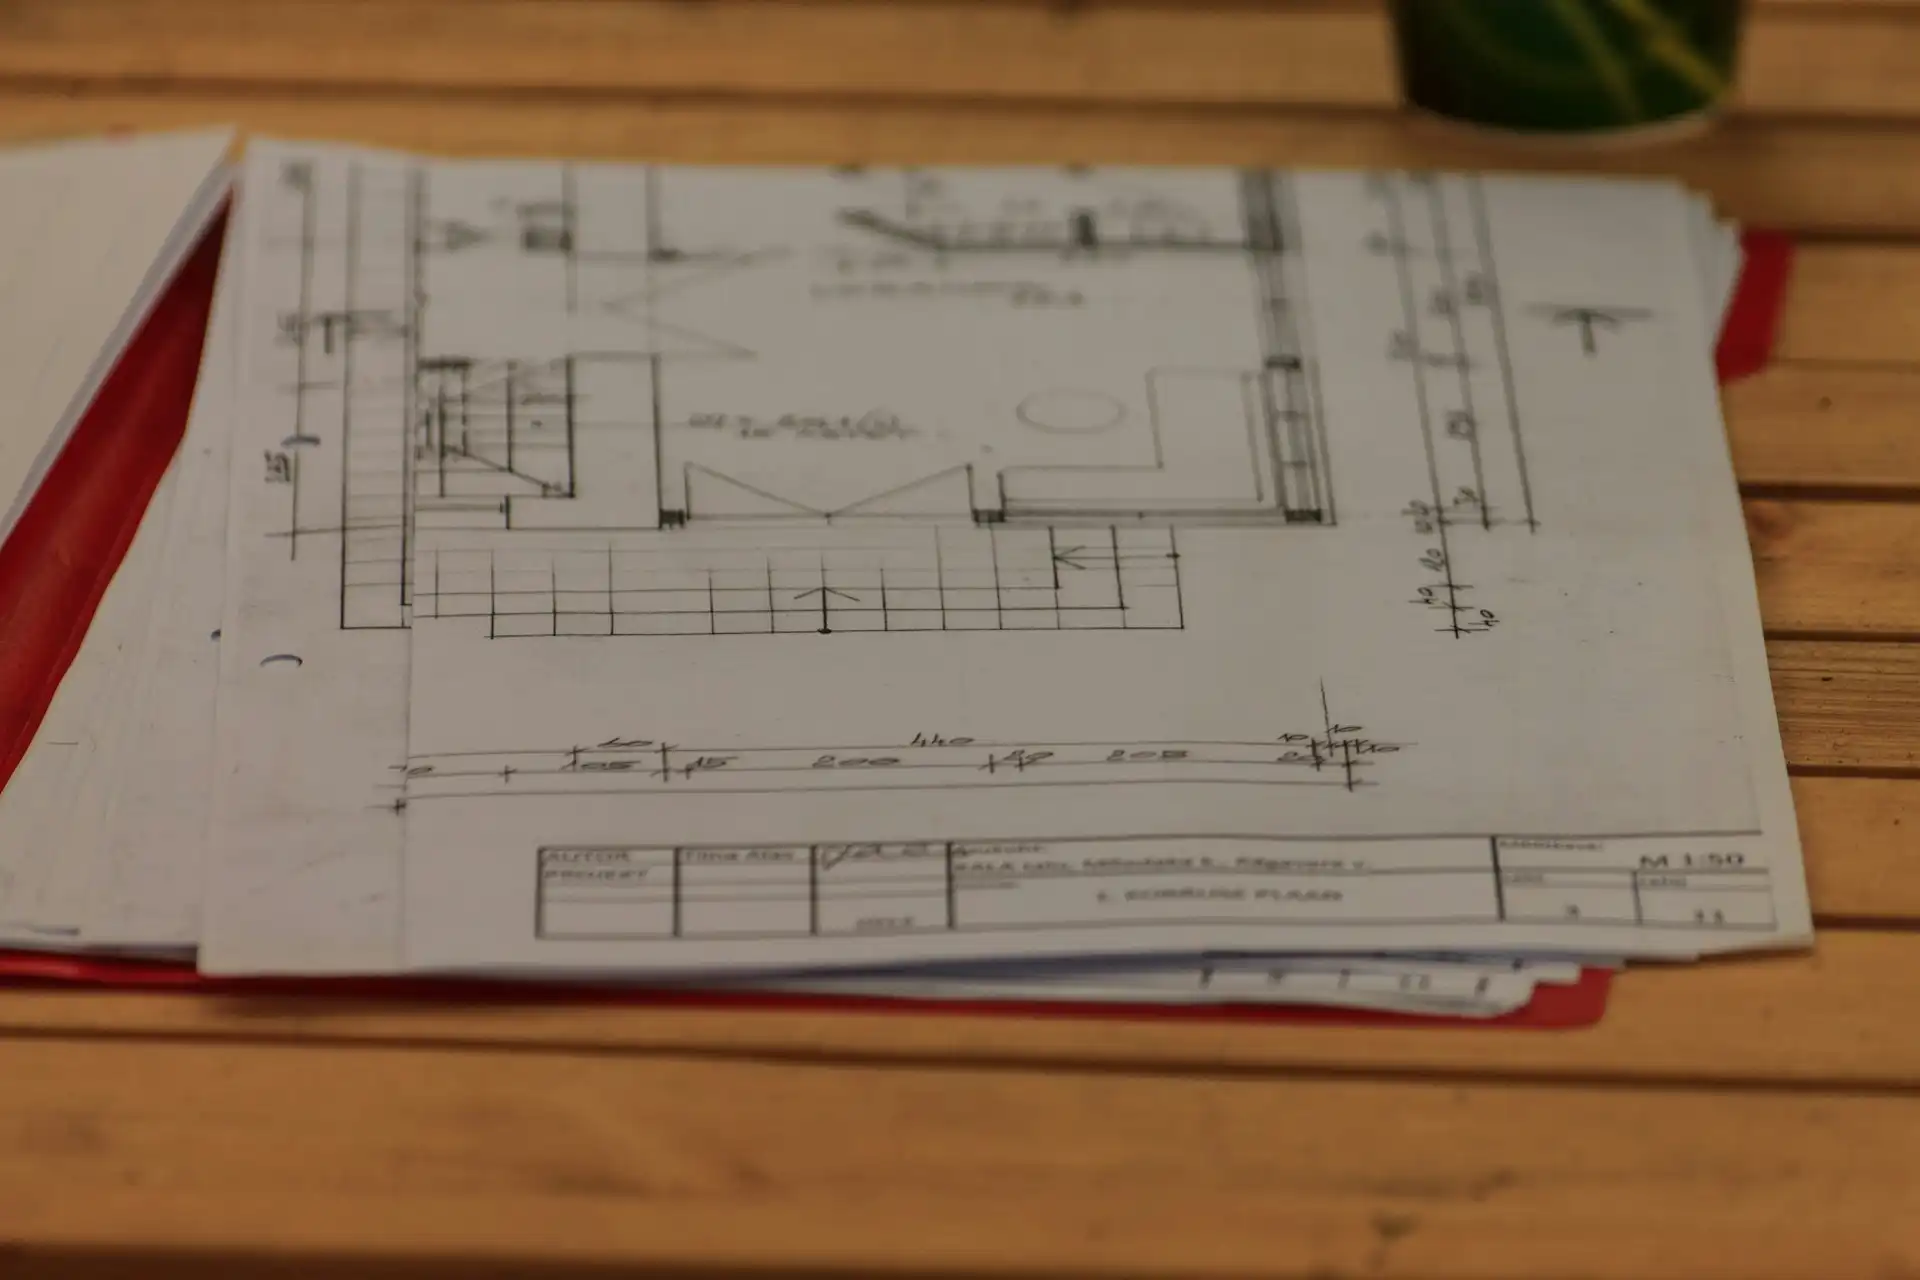
Before touching a wall, everything was defined on paper:
- New L-shaped layout with central island to increase work surface
- Optimized work triangle (refrigerator → sink → stove)
- Material selection: quartz countertop, lacquered MDF cabinets, porcelain tile flooring
- Lighting plan: general lighting + under-cabinet lights in work areas
- New installations: dedicated electrical circuits and complete plumbing
This phase took two weeks and prevents most surprises later. To understand the cost of a kitchen like this, see our kitchen remodel pricing guide.
Phase 2: Demolition
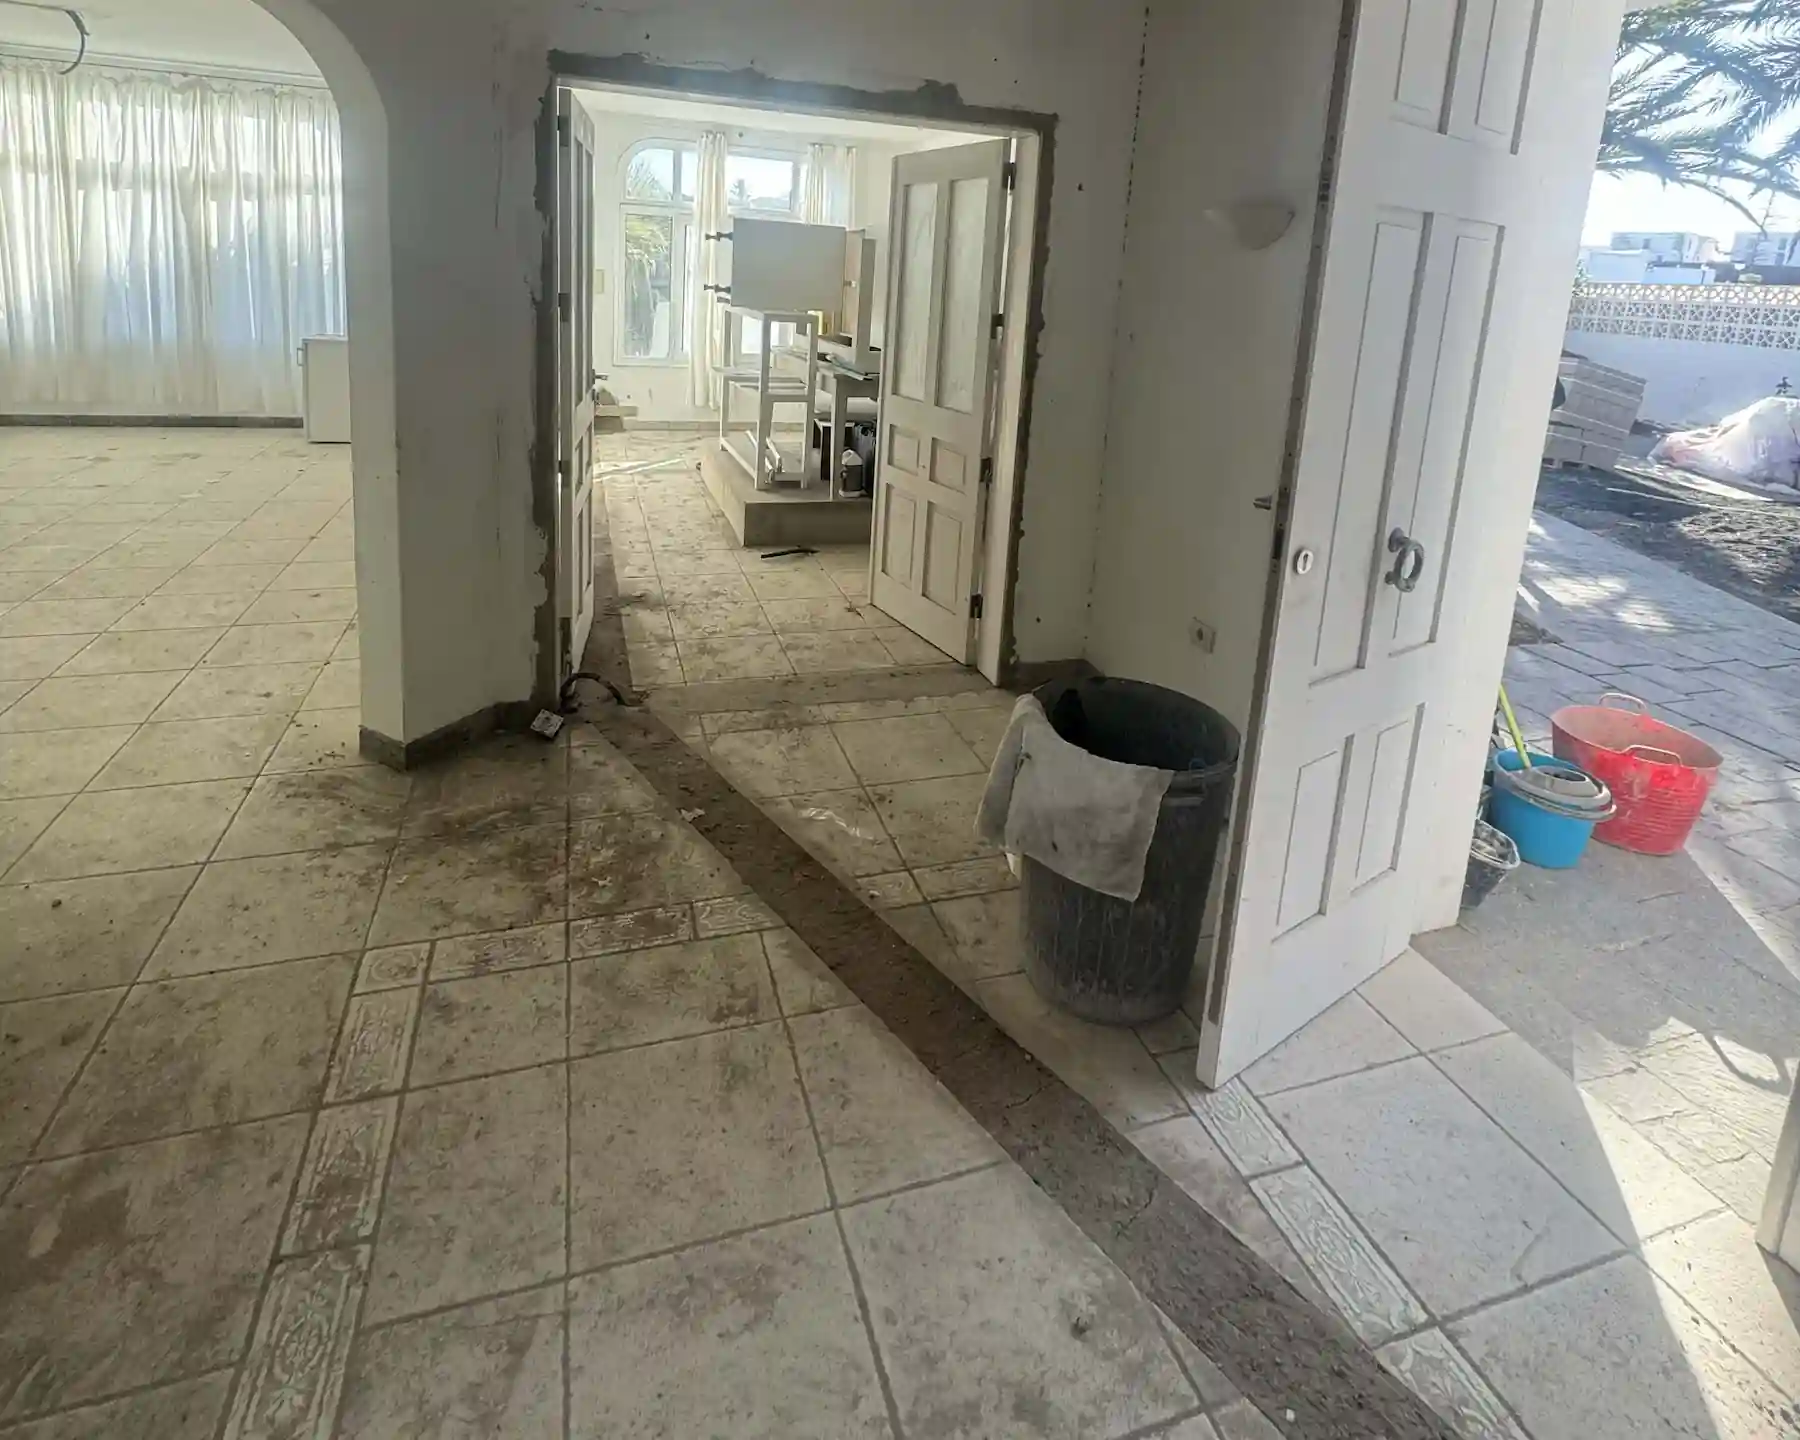
With the design approved, demolition began:
- Removal of old cabinets, countertops, and appliances
- Lifting of existing flooring
- Chipping of wall coverings
- Disassembly of old installations
This stage lasted 4 days and is the noisiest. In an apartment, we coordinated with the condominium to respect permitted hours.
Phase 3: New Installations
With the kitchen in rough condition, we installed:
- Electrical: new dedicated circuit for oven and microwave, under-cabinet lighting points, additional outlets on the countertop
- Plumbing: new cold and hot water lines, relocated drain for the new sink position
- Preparation for the range hood with exterior vent
This stage is invisible in the end, but it ensures the kitchen works well for decades. For details on what’s included, see our electrical installation guide.
Phase 4: Wall and Floor Coverings
We installed:
- Porcelain tile on the floor — stain and traffic resistant
- Ceramic backsplash on work walls
- Surface leveling before installation
Porcelain was chosen for durability and easy cleaning — two critical factors in a kitchen. If you’re deciding between materials, compare them in our porcelain vs ceramic guide.
Phase 5: Cabinets and Countertops
The most visible part:
- Cabinets in lacquered MDF with soft-close hardware
- Quartz countertop, resistant to stains, heat, and scratches
- Central island with storage and breakfast space
- Internal organization: drawers with dividers, maximized corner space
Cabinet fabrication was done in parallel with previous stages to keep the total timeline short.
Phase 6: Finishes and Lighting
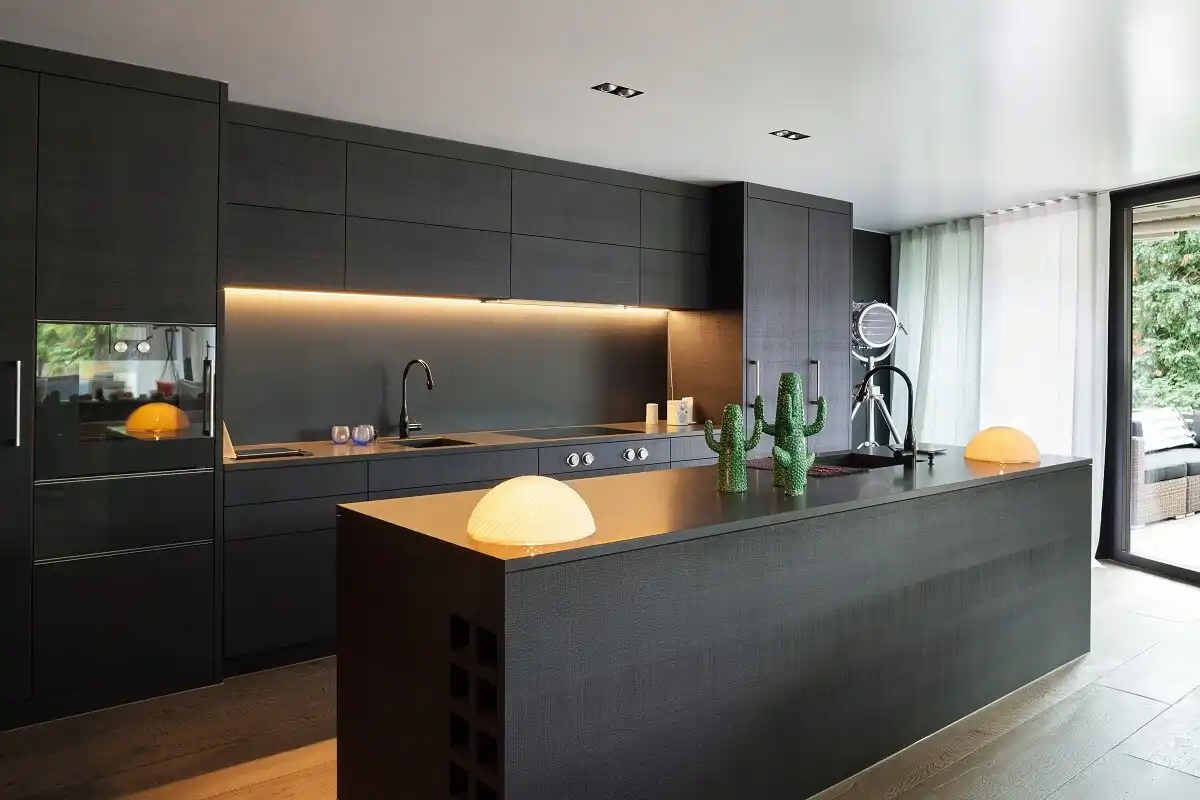
The final details that transform the space:
- LED lighting under upper cabinets (shadow-free work zone)
- Pendant lights over the island
- Modern faucet with pull-out spray
- Painting in non-tiled wall areas
- Appliance and hardware installation
Final Result
The kitchen went from a dark, inefficient space to a modern, bright, and functional kitchen:
- Work surface practically doubled with the island
- Storage optimized with custom cabinets
- Zoned lighting: general, task, and ambient
- New installations with dedicated circuits and no leaks
- Contemporary aesthetics that add value to the home
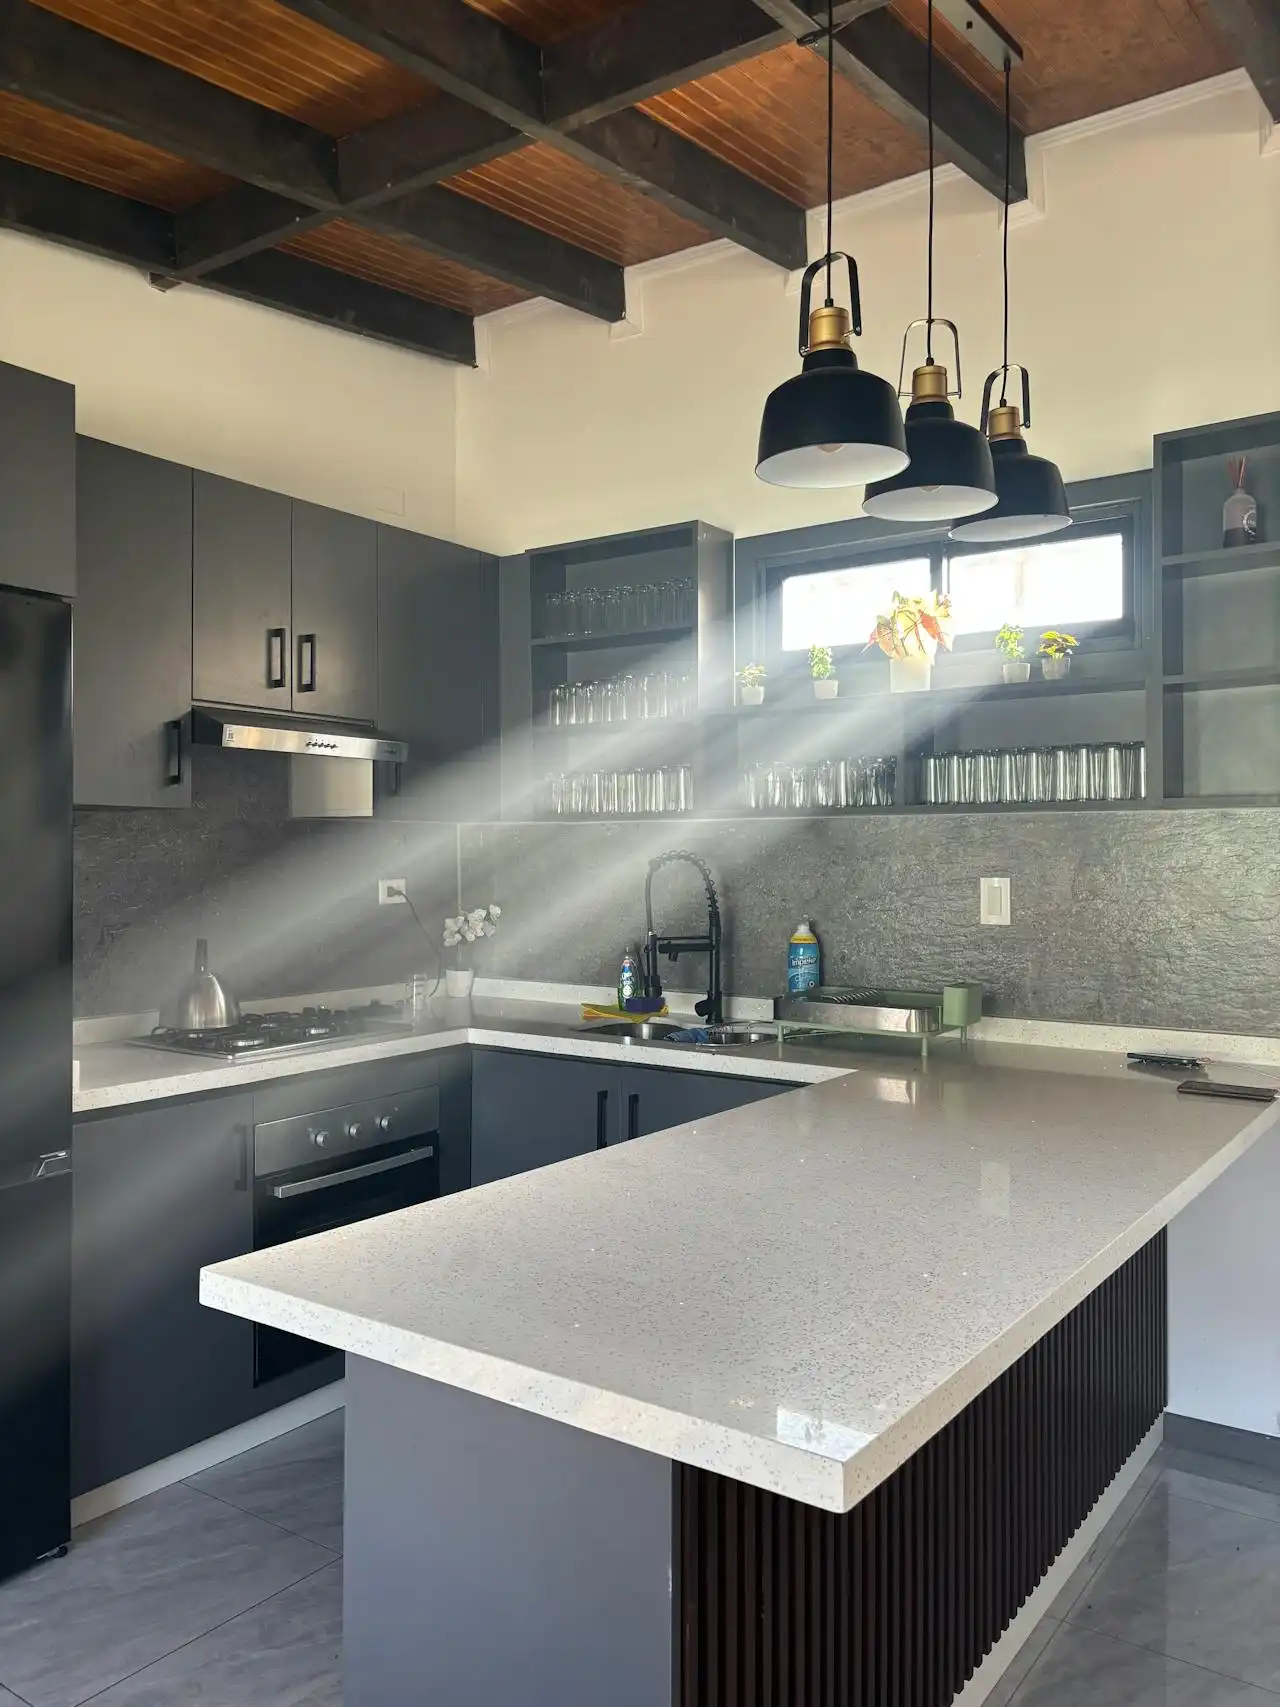
The complete project took 5 weeks from the start of demolition to handover — on schedule because all material decisions were made before work began.
Lessons from This Project
What we learned (and applies to any kitchen):
- Define everything before demolition avoids delays and expensive changes
- New installations are the invisible investment that pays off the most
- Zoned lighting changes perception more than expensive finishes
- Quartz countertop is one of the best decisions for durability
- Coordinating cabinet fabrication in parallel shortens the total timeline
Frequently Asked Questions
How much does a kitchen remodel like this cost?
It depends on size and materials. A medium kitchen with island and quartz usually falls in the mid-to-high range. See real ranges in our kitchen pricing guide.
Can I use the kitchen during the work?
Not during demolition and installations. We recommend setting up a temporary kitchen (microwave, portable fridge) in another area of the house.
Is a central island worth it?
Yes, if the space allows. It adds work surface, storage, and a social point. In small kitchens, a peninsula may be better.
What countertop material do you recommend?
Quartz offers the ideal balance between durability, aesthetics, and low maintenance. Natural granite is more heat-resistant but requires sealing.
Conclusion
A well-executed kitchen remodel transforms not just the space, but daily home life. The key is planning everything before starting, investing in quality installations, and choosing durable materials.
If you’re in Caracas, Valencia, San Diego, or Carabobo and want a kitchen like this, request a free consultation. At ReformaT Venezuela we show you more real projects and provide a detailed quote. Learn about our kitchen remodeling service and how to choose the right company in how to choose a remodeling company.